Setting up an Airnode with your API
Introduction
Airnode is a first-party oracle node deployed and operated by the API provider to provide any data from their REST API on-chain. It is a lightweight, serverless, and cost-efficient oracle node that can be deployed in minutes.
This guide will walk you through the steps to set up an Airnode with your own REST API.
ChainAPI
ChainAPI is a platform that enables you to integrate and deploy the open-source Airnode with its step-by-step integration and deployment tools. It helps streamline the Airnode integration process for API providers.
Using ChainAPI, API providers can configure and deploy an Airnode which allows them to provide their API data to multiple chains.
ChainAPI can connect almost any API, whether open or authenticated, to Airnode. Airnode then queries your API operations to be consumed by EVM on-chain dApps, by using the Request-Response Protocol.
To get started, go to ChainAPI and login using MetaMask.
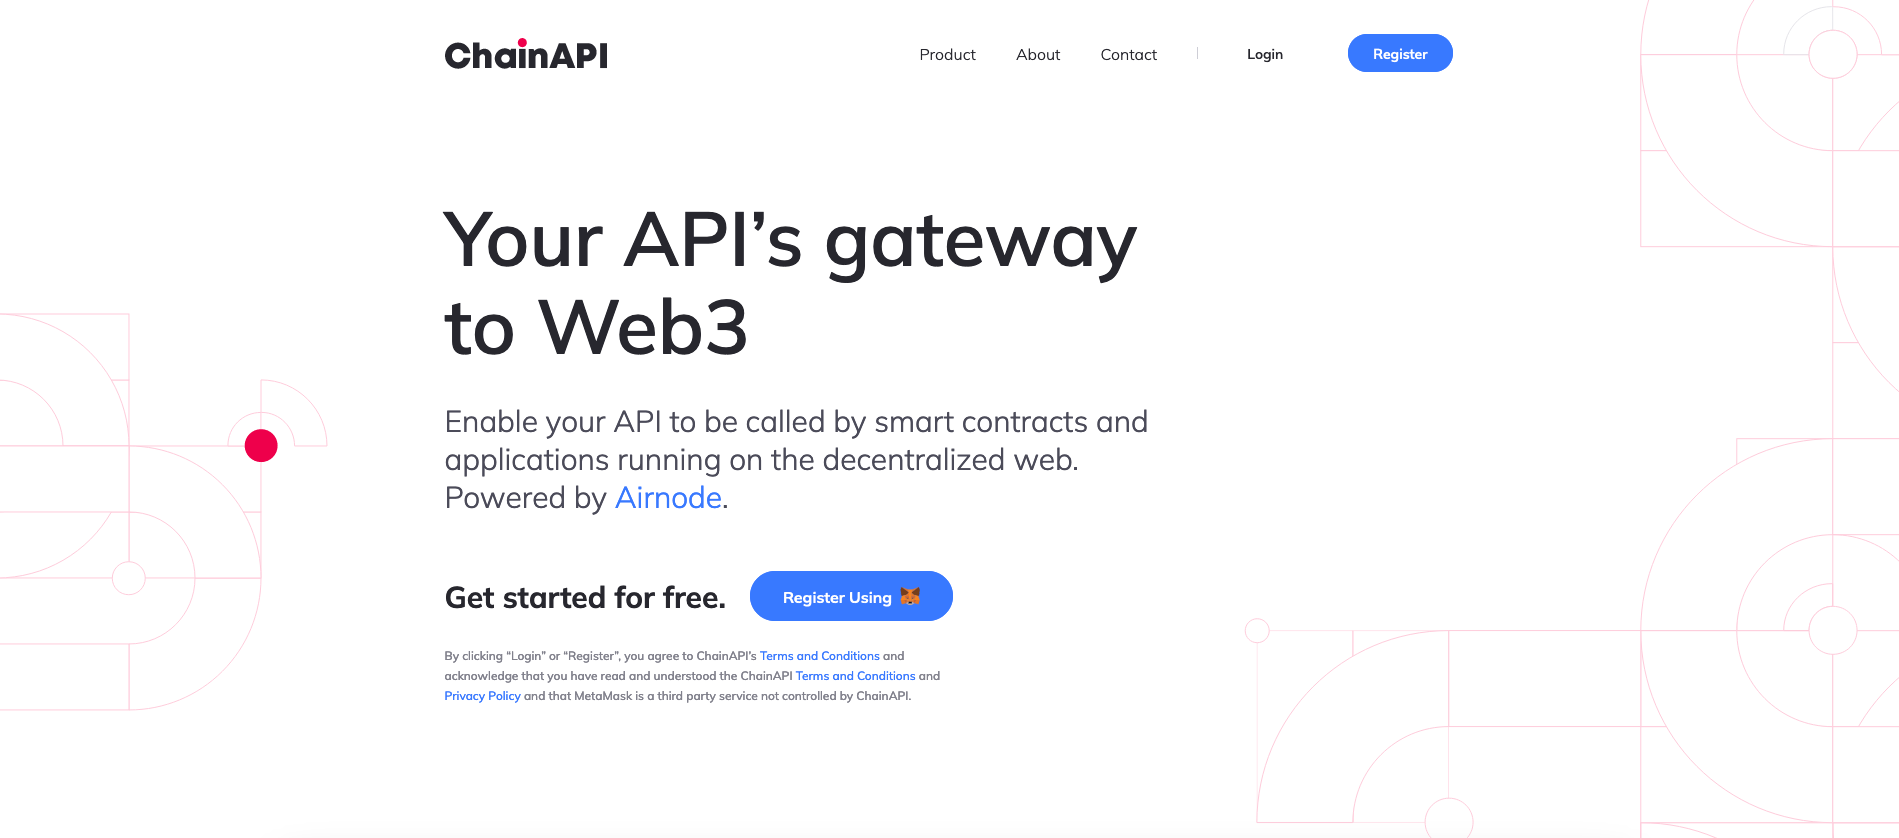
Sign in with your MetaMask account. If you don't have a MetaMask account, you can create one by following the instructions here.
After registering, you will be redirected to the ChainAPI dashboard.
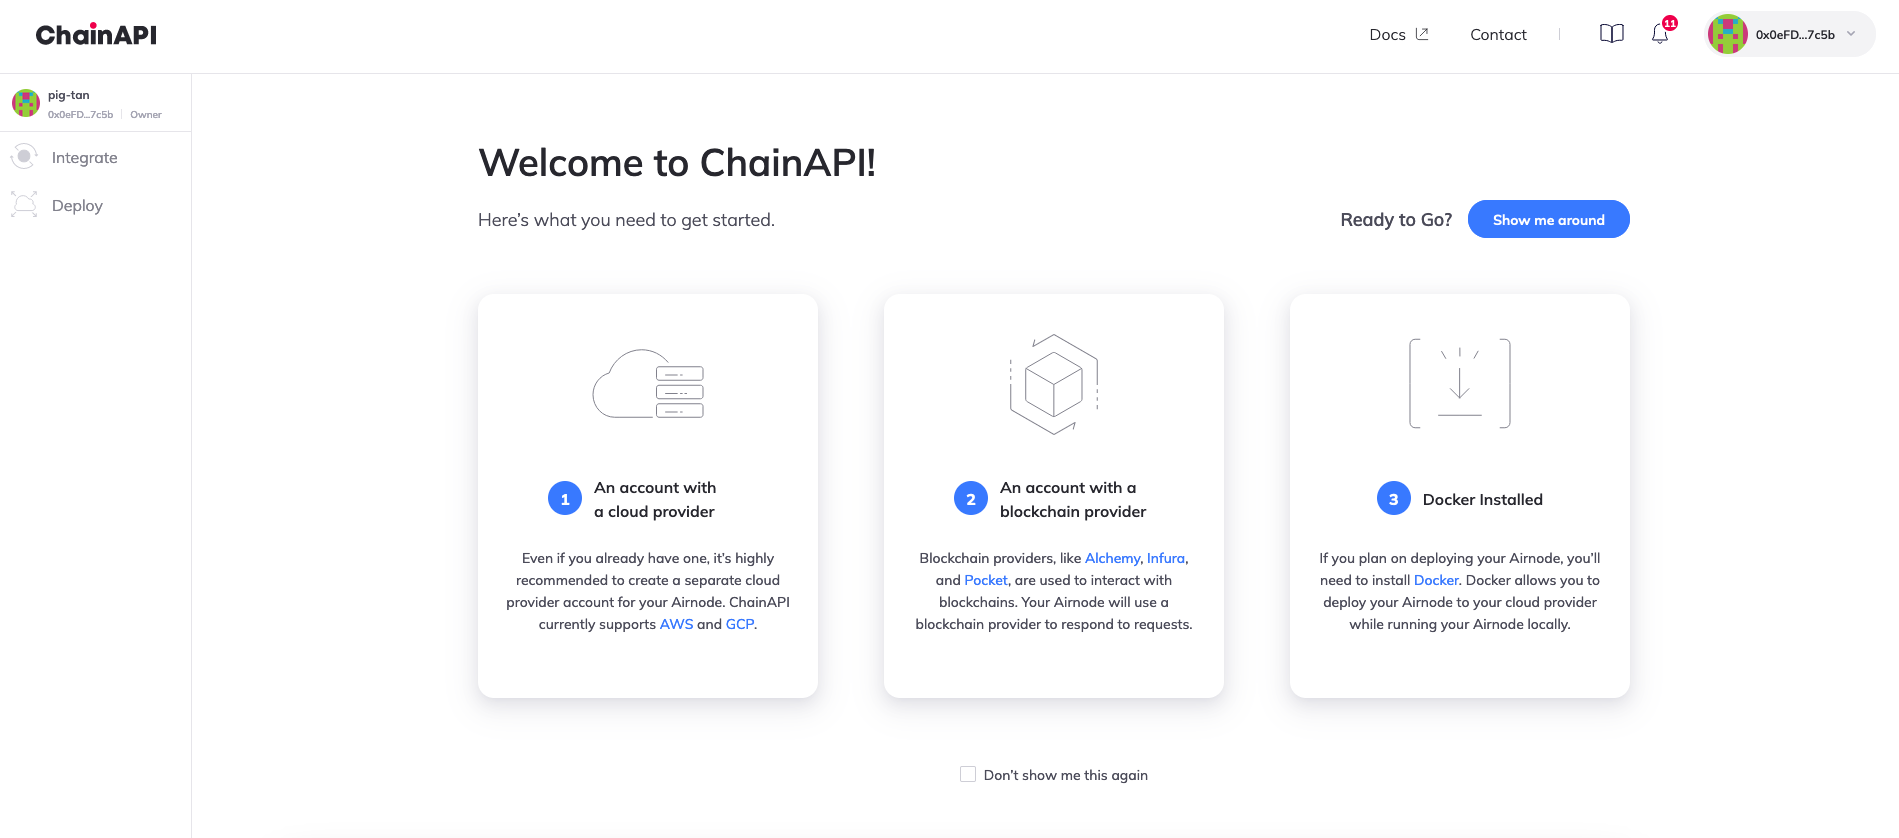
Creating a New Integration
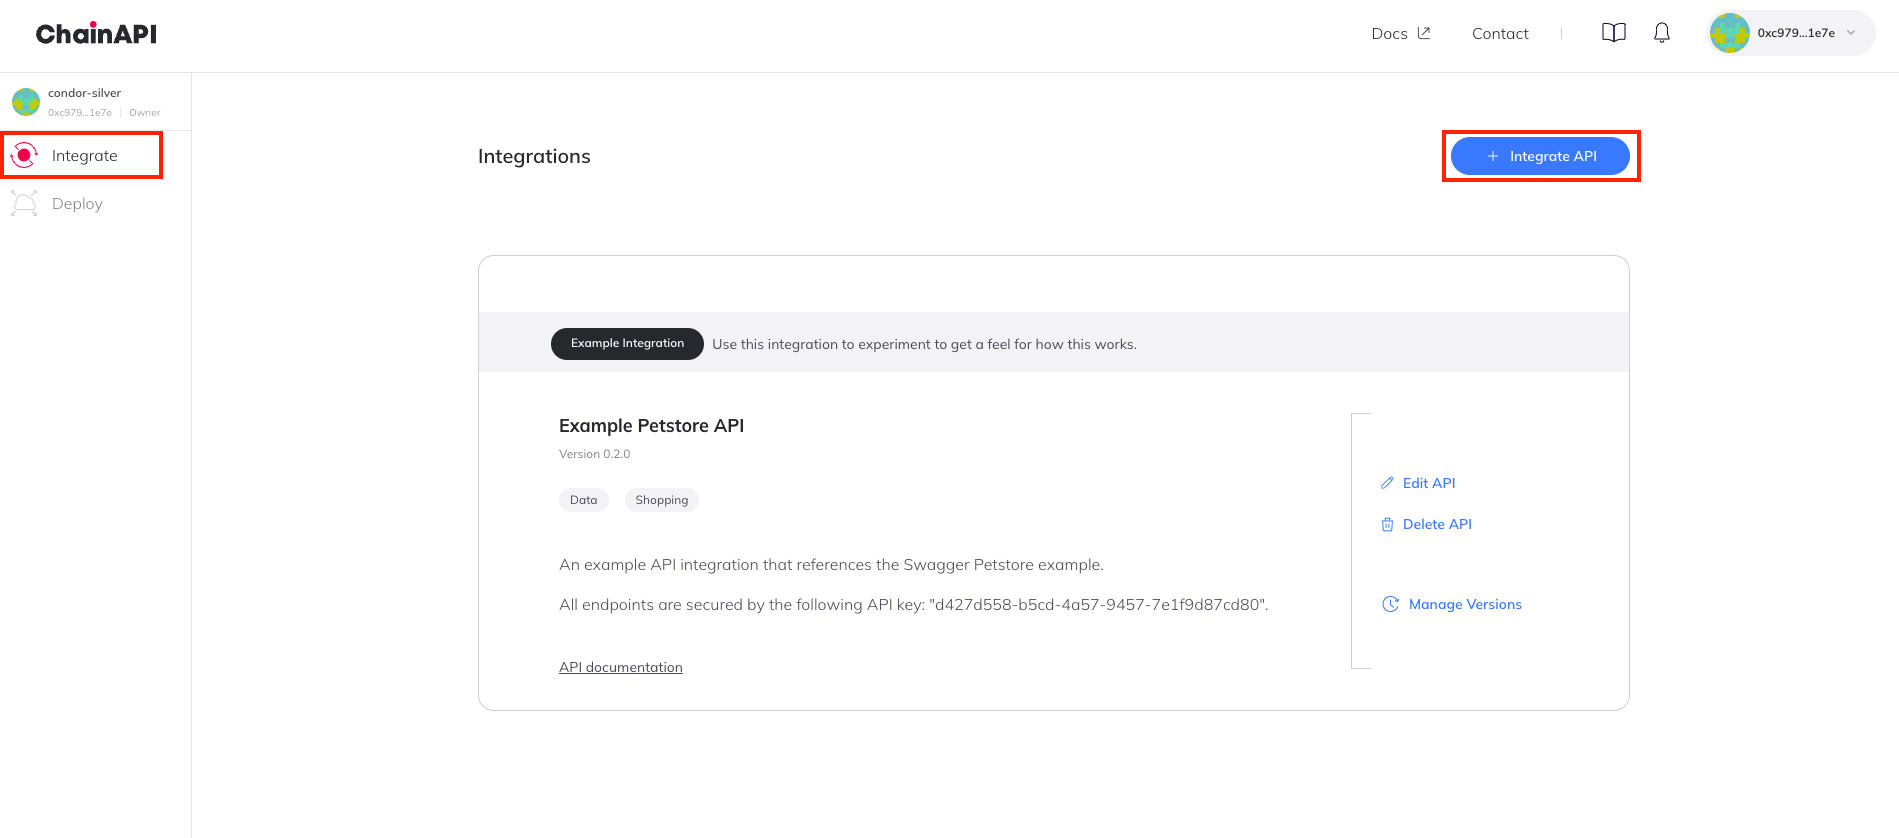
To create a new integration, click on the Integrate button on the top left corner of the dashboard and select Integrate API.
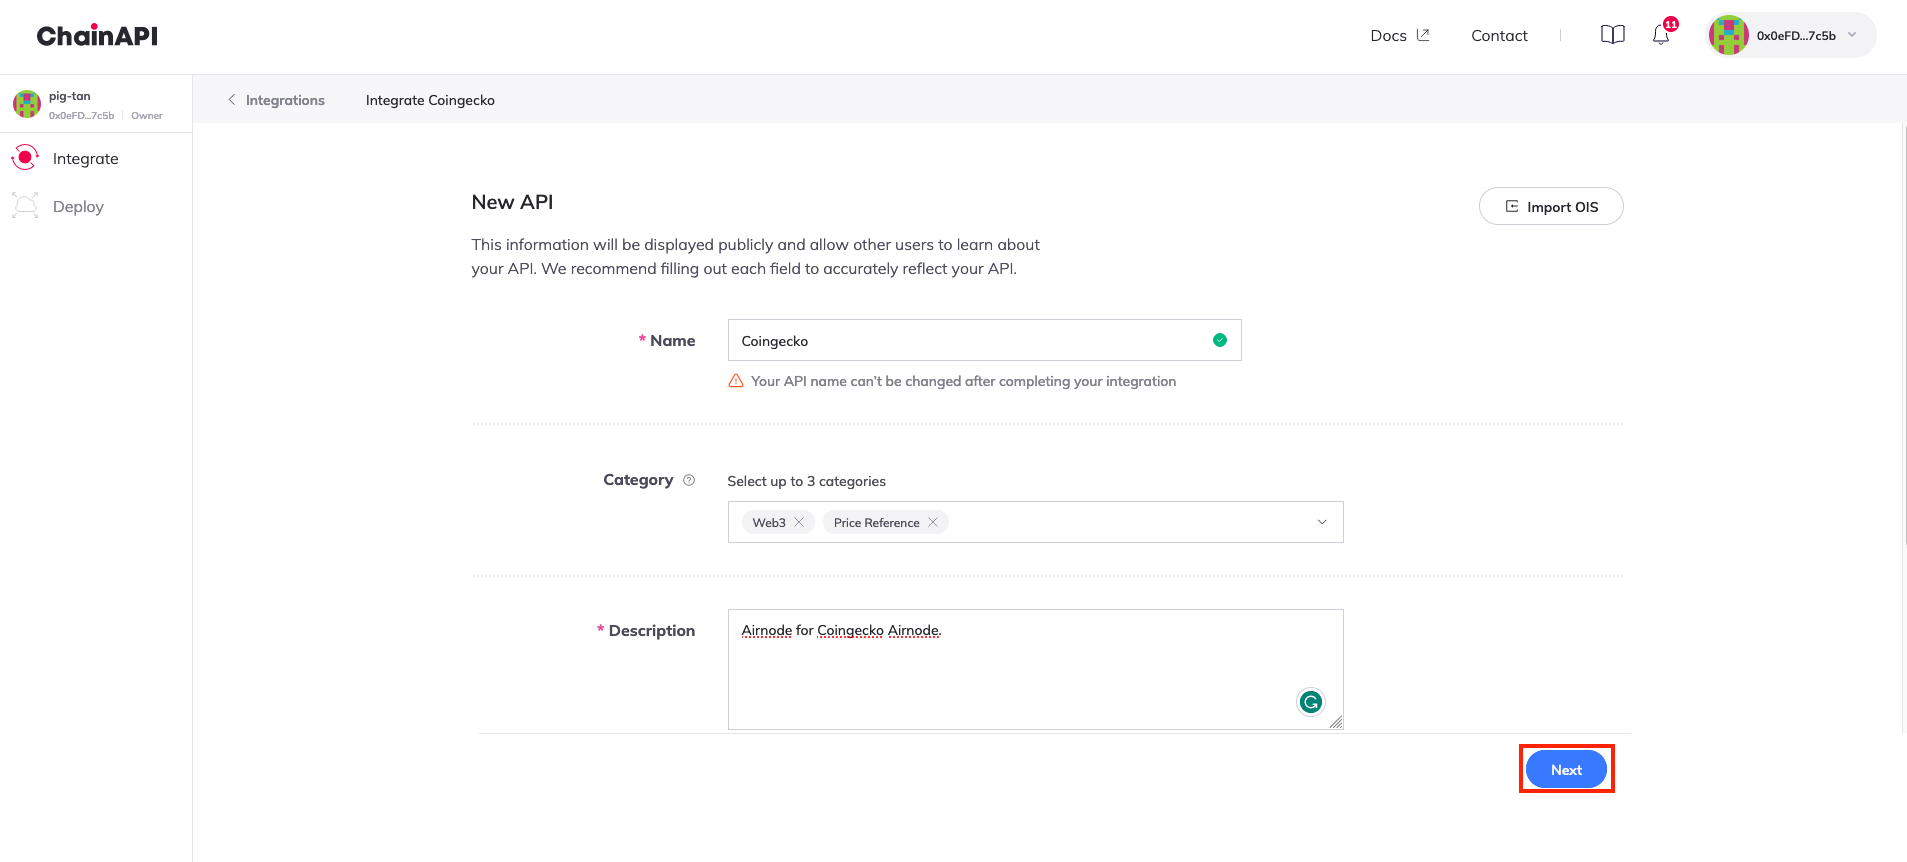
Enter your API name, select the category and description and click on Create.
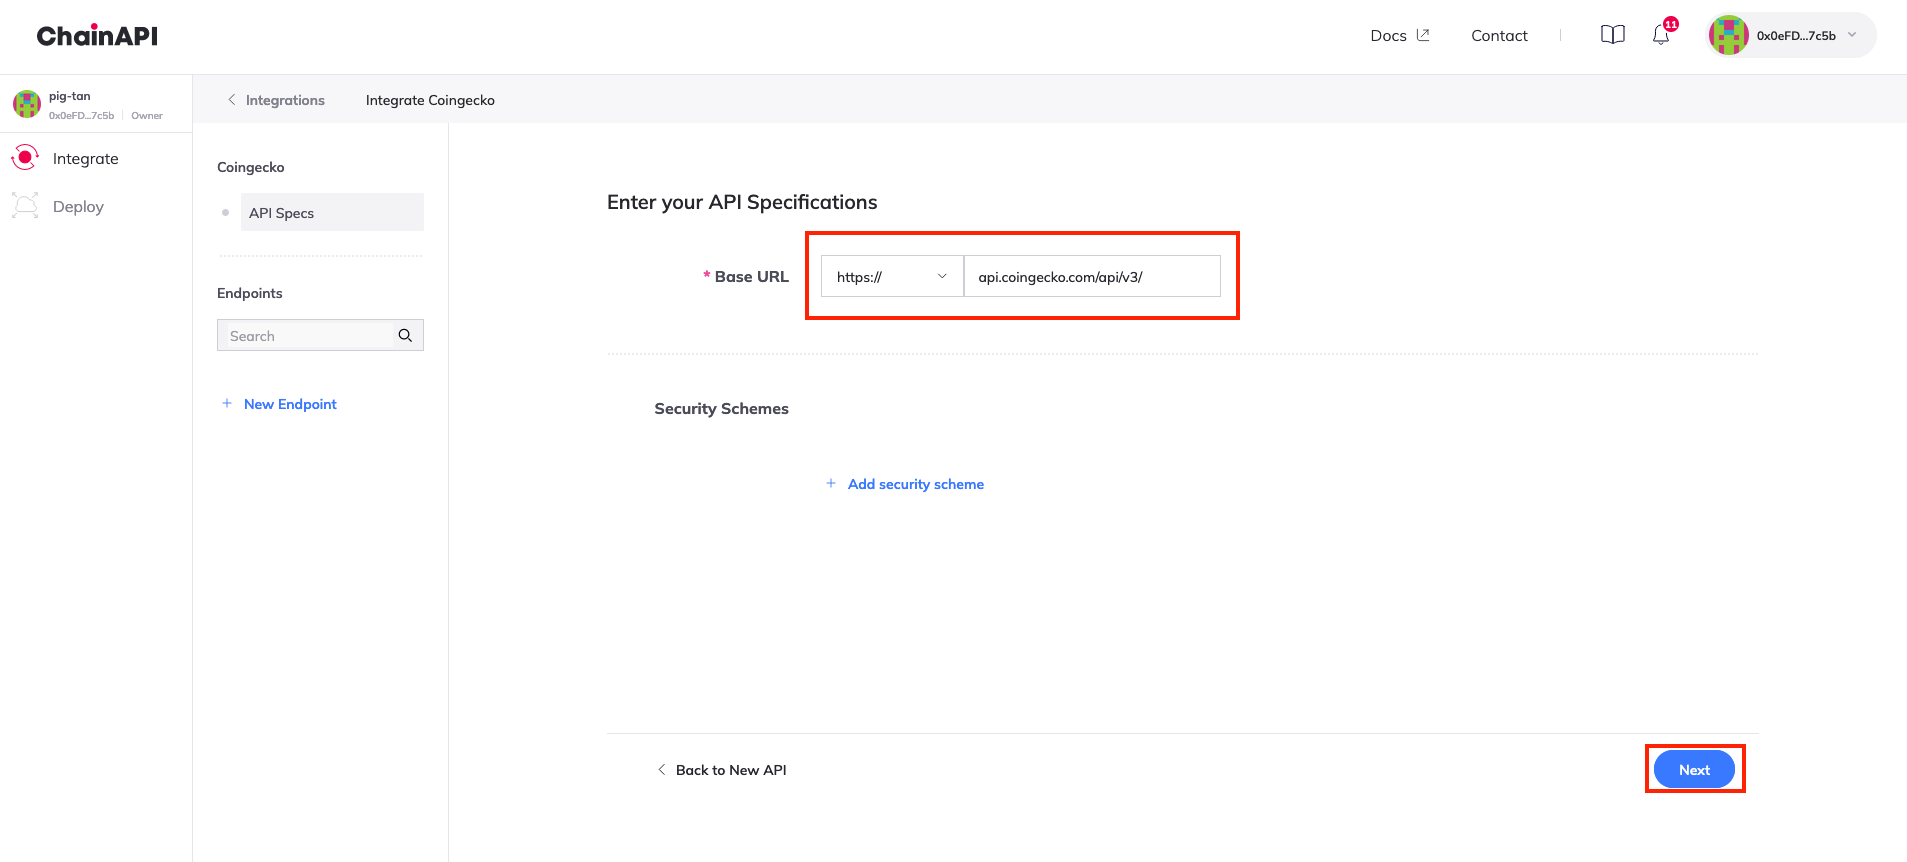
Enter the base URL for your API and click on Next. You can also add in support for security schemes like API keys or an HTTP bearer token by clicking on Add Security Scheme.
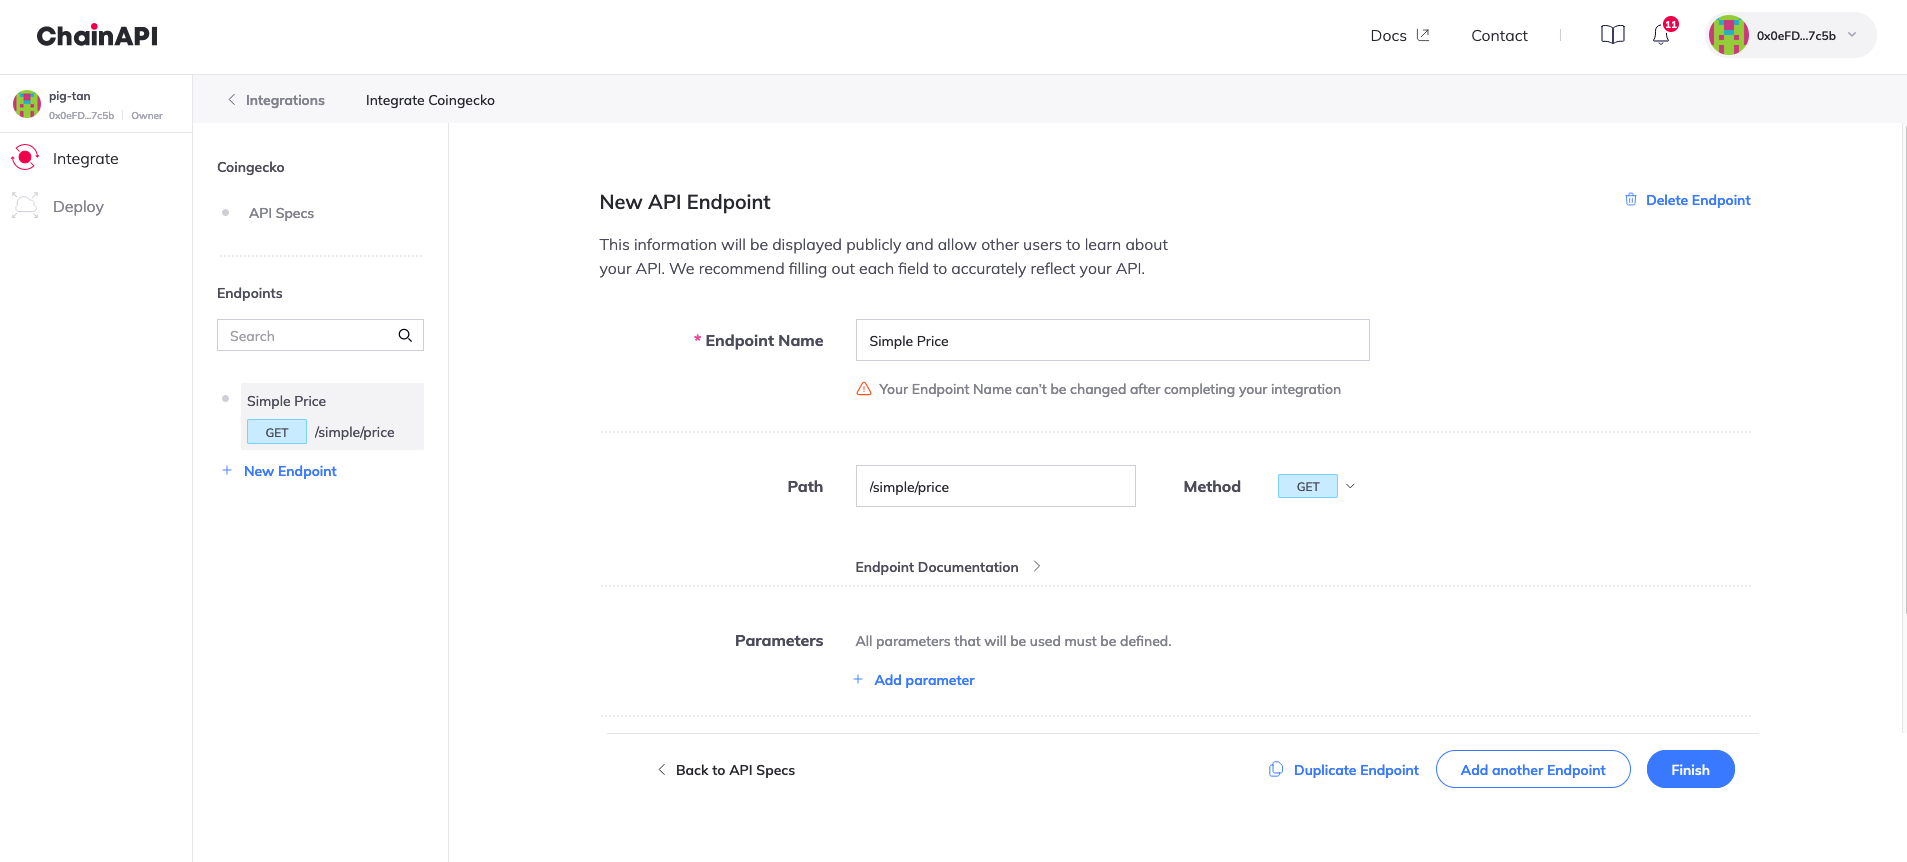
You will now be redirected to the next step where you can add your API endpoints. For each endpoint you want to add, click on Add Endpoint and enter the endpoint name, path, method, and description.
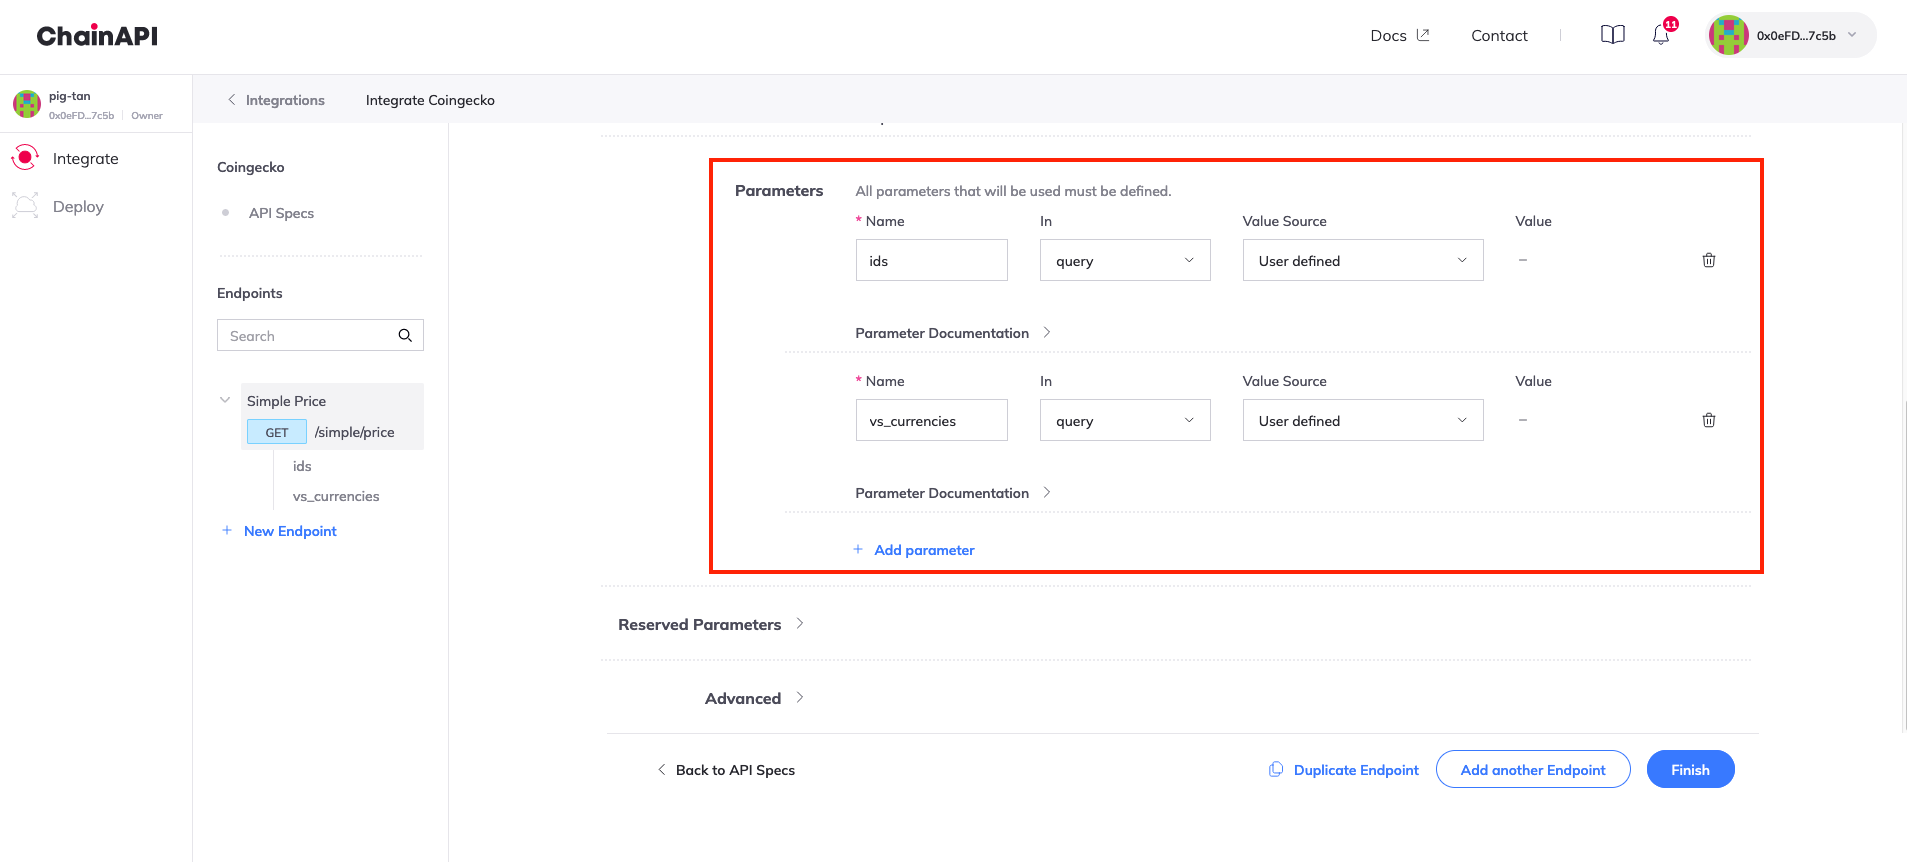
You can now add all the parameters for your endpoint. Click on Add parameter and enter the parameter name and type(query/header/path/cookie). You can also define the parameter as a user-defined or a fixed value. You can add multiple parameters for each endpoint by clicking on Add parameter.
Reserved parameters define what part of the response is to be picked and encoded before fulfillment. It can be defined by the requester or can also be hardcoded in the Airnode configuration. To hardcode the reserved parameters, click on Reserved Parameters to define the parameter's _name, _path and _times.
Pre/Post Processing allows you to specify snippets of Javascript code to be run before or after a request is made to your Airnode. Click on Advanced and select Add Pre-processing or Add Post-processing to add your snippets.
- Pre-processing snippets are executed before making the request to the Airnode.
- Post-processing snippets are executed after receiving the response from the Airnode.
To read more about pre and post-processing, click here.
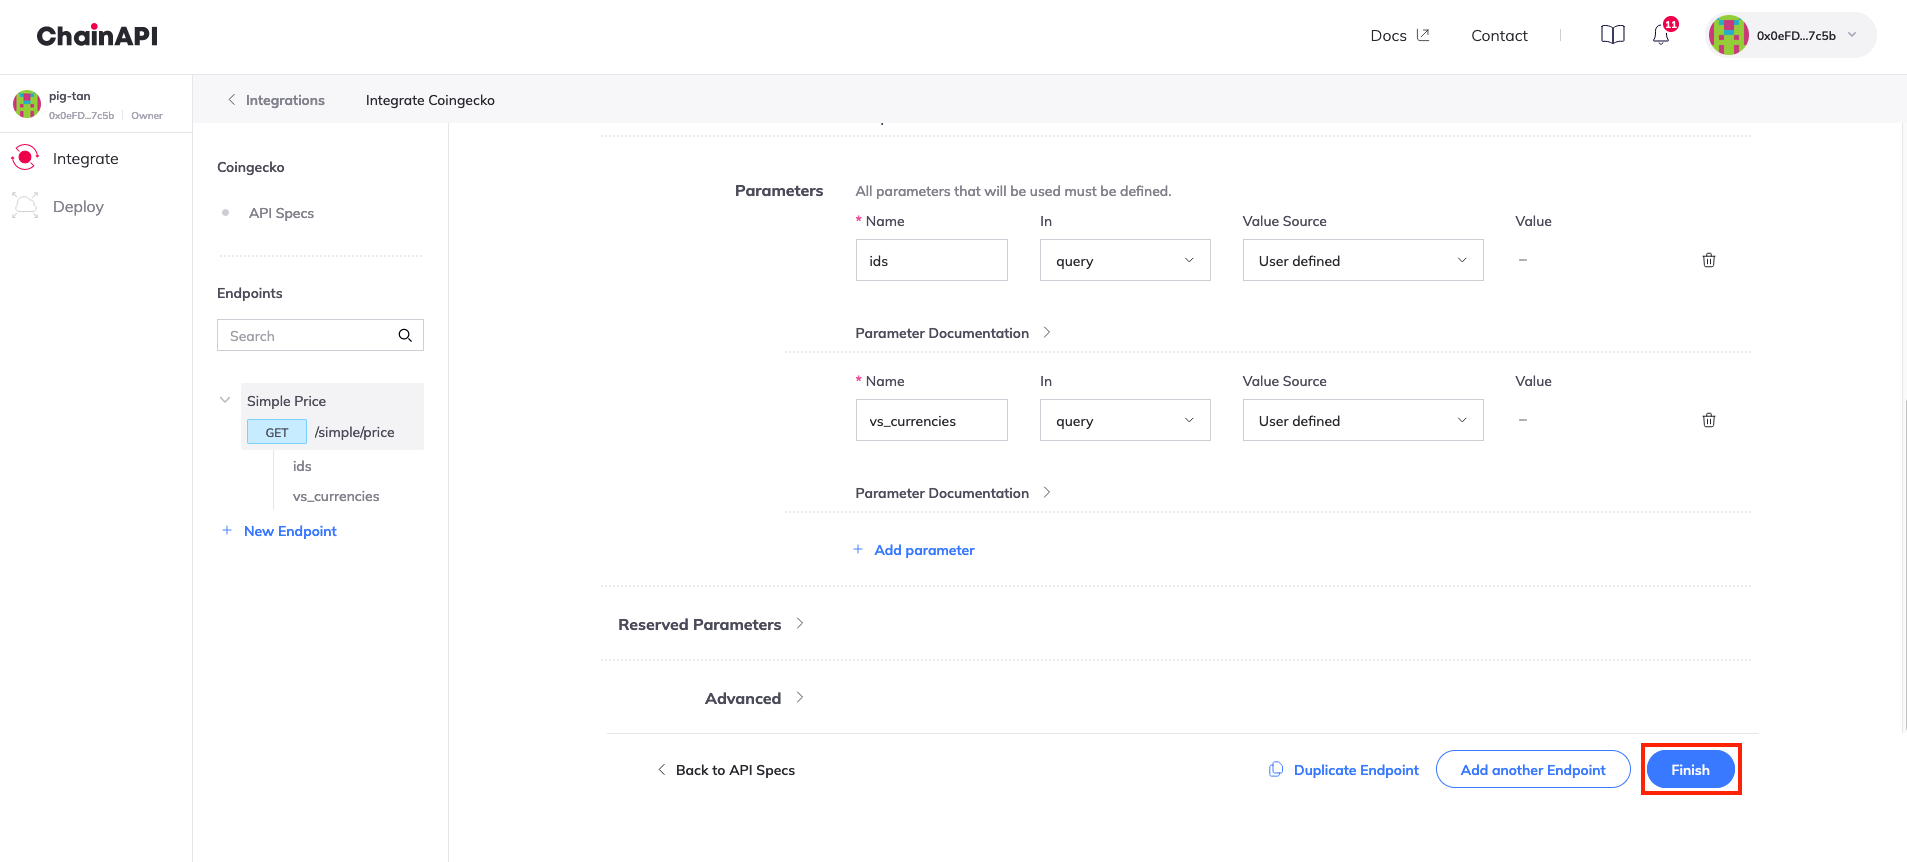
After adding all the required endpoints and parameters, click on Finish.
Setting up a Deployment
To set up a new deployment for your Airnode, click on the Deploy button on the top left corner of the dashboard and select New Deployment.
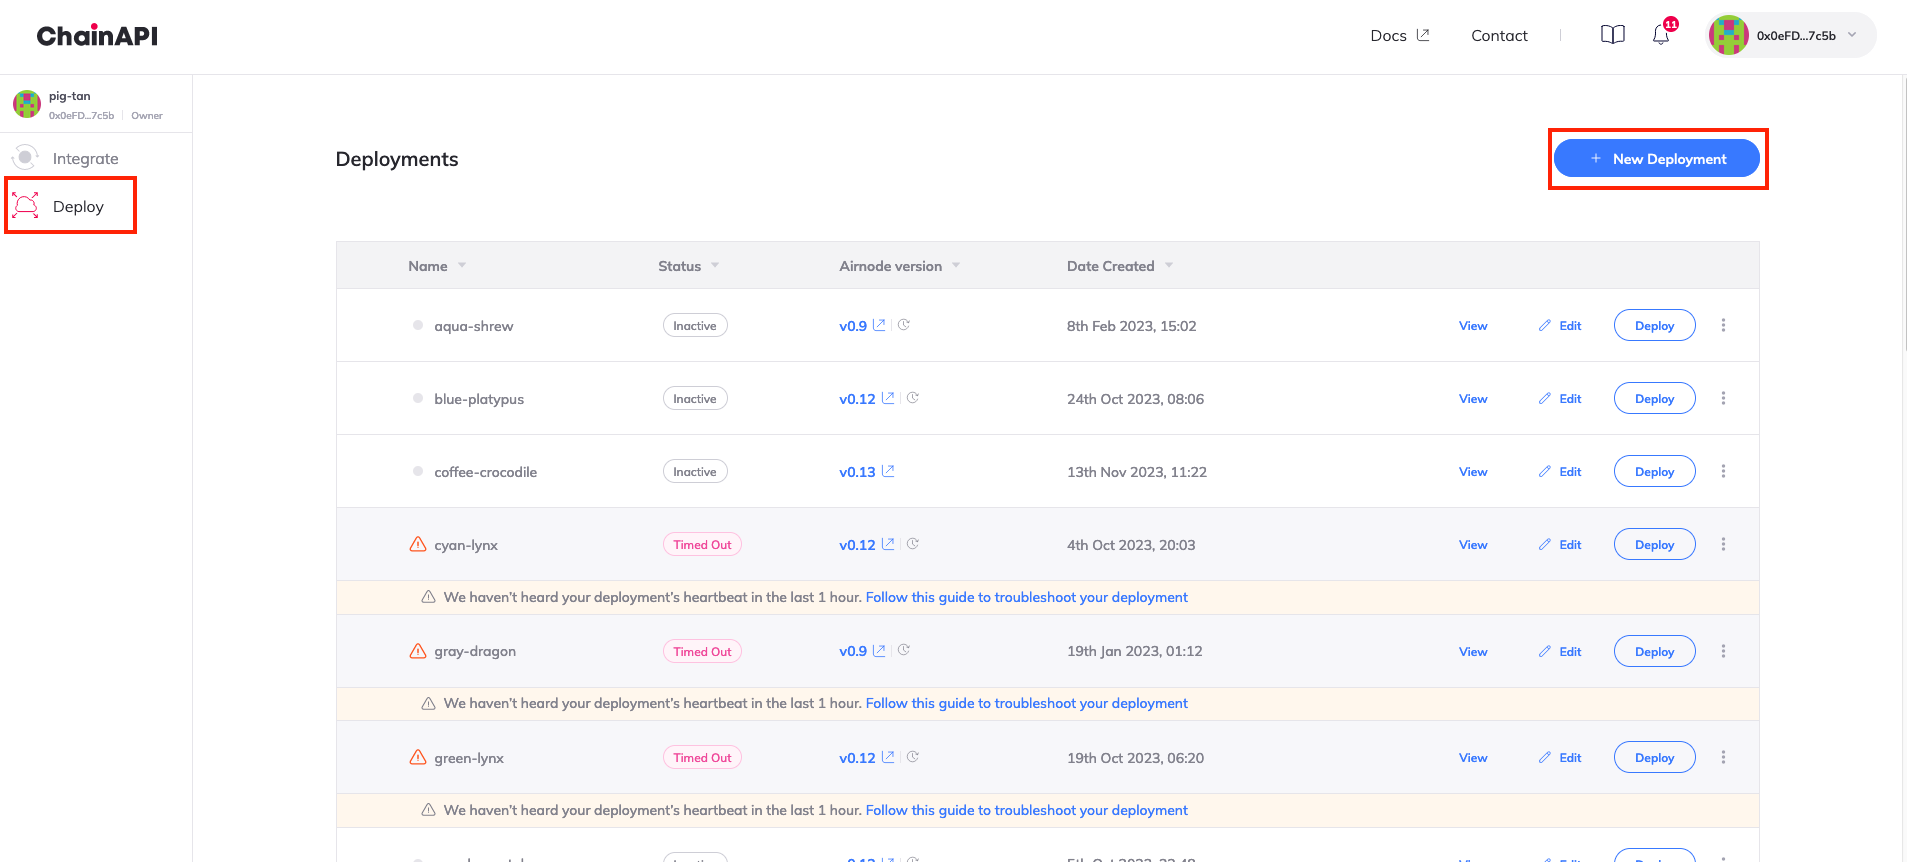
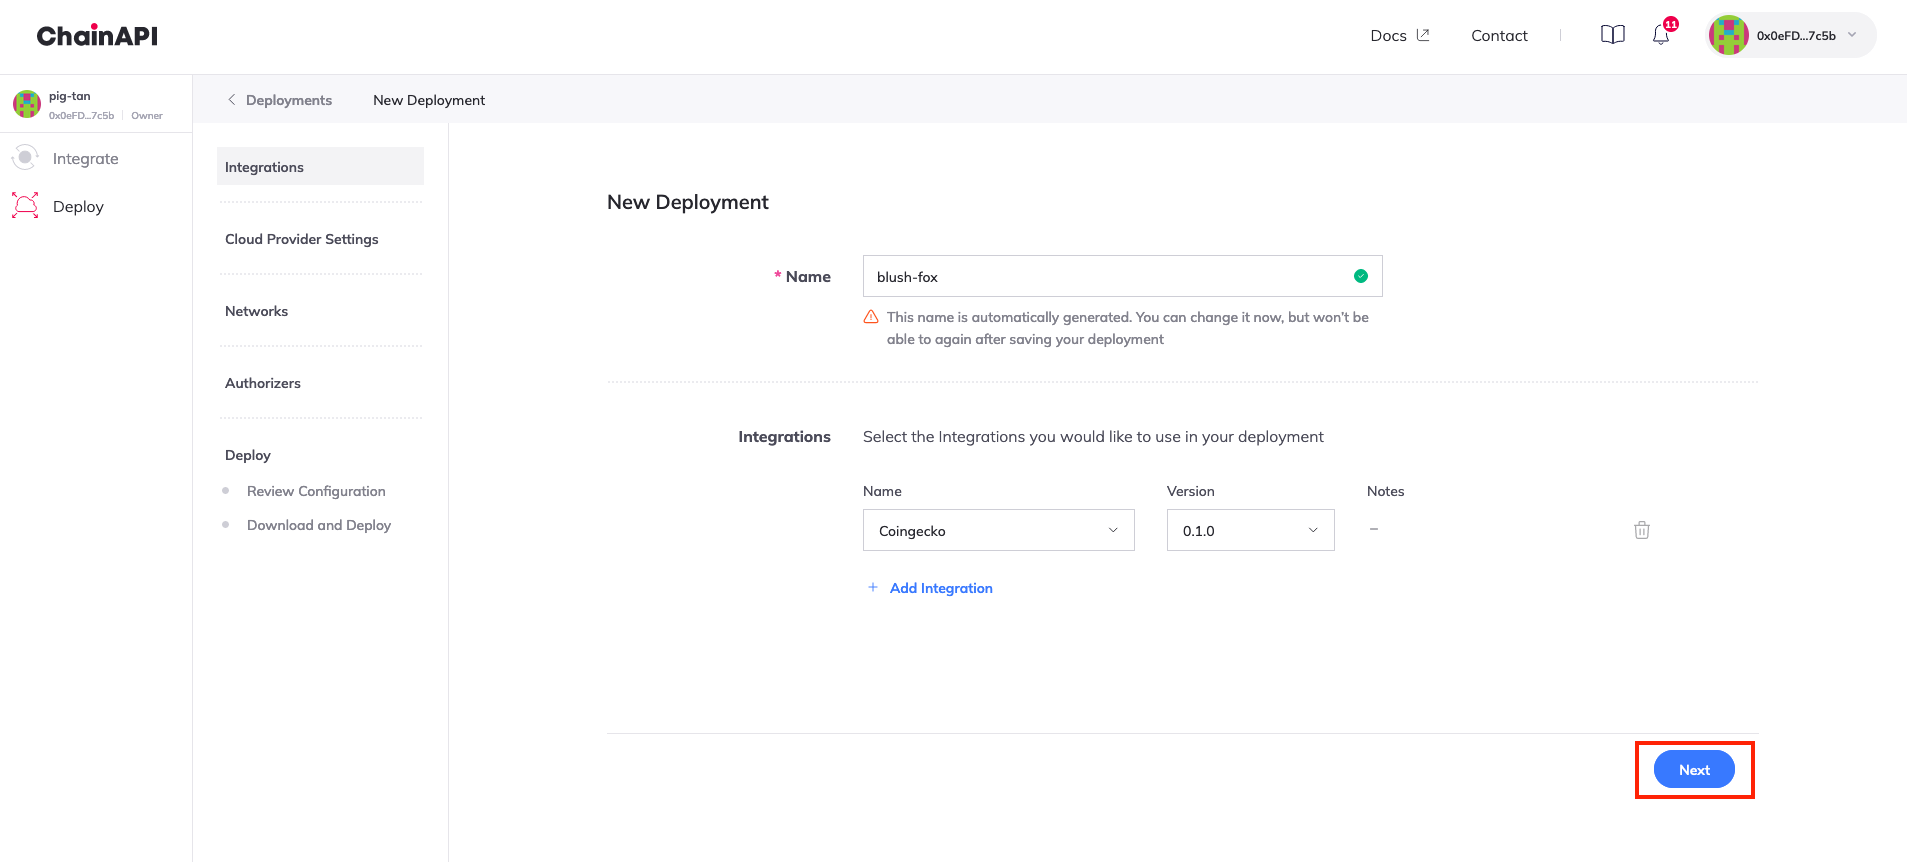
Enter your deployment name and select the integration you would want to use with the deployment. Click on Next.
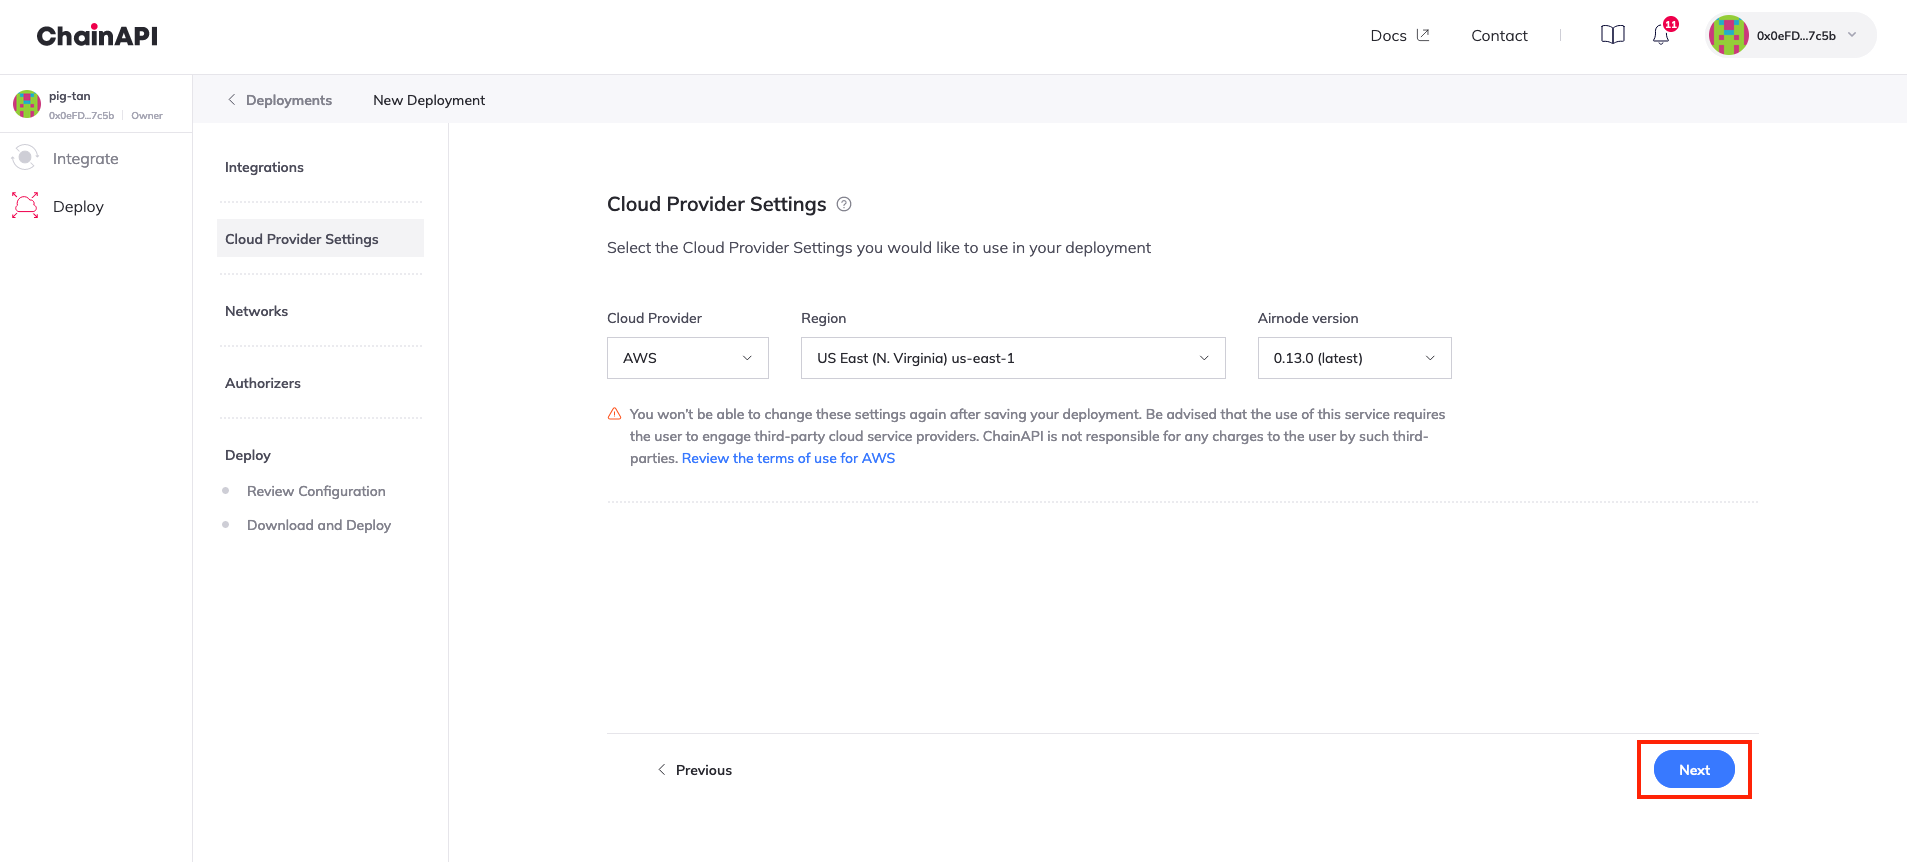
Select the cloud provider you would want to use for your deployment. You can choose between AWS or GCP. Choose the region and the Airnode version and click on Next.
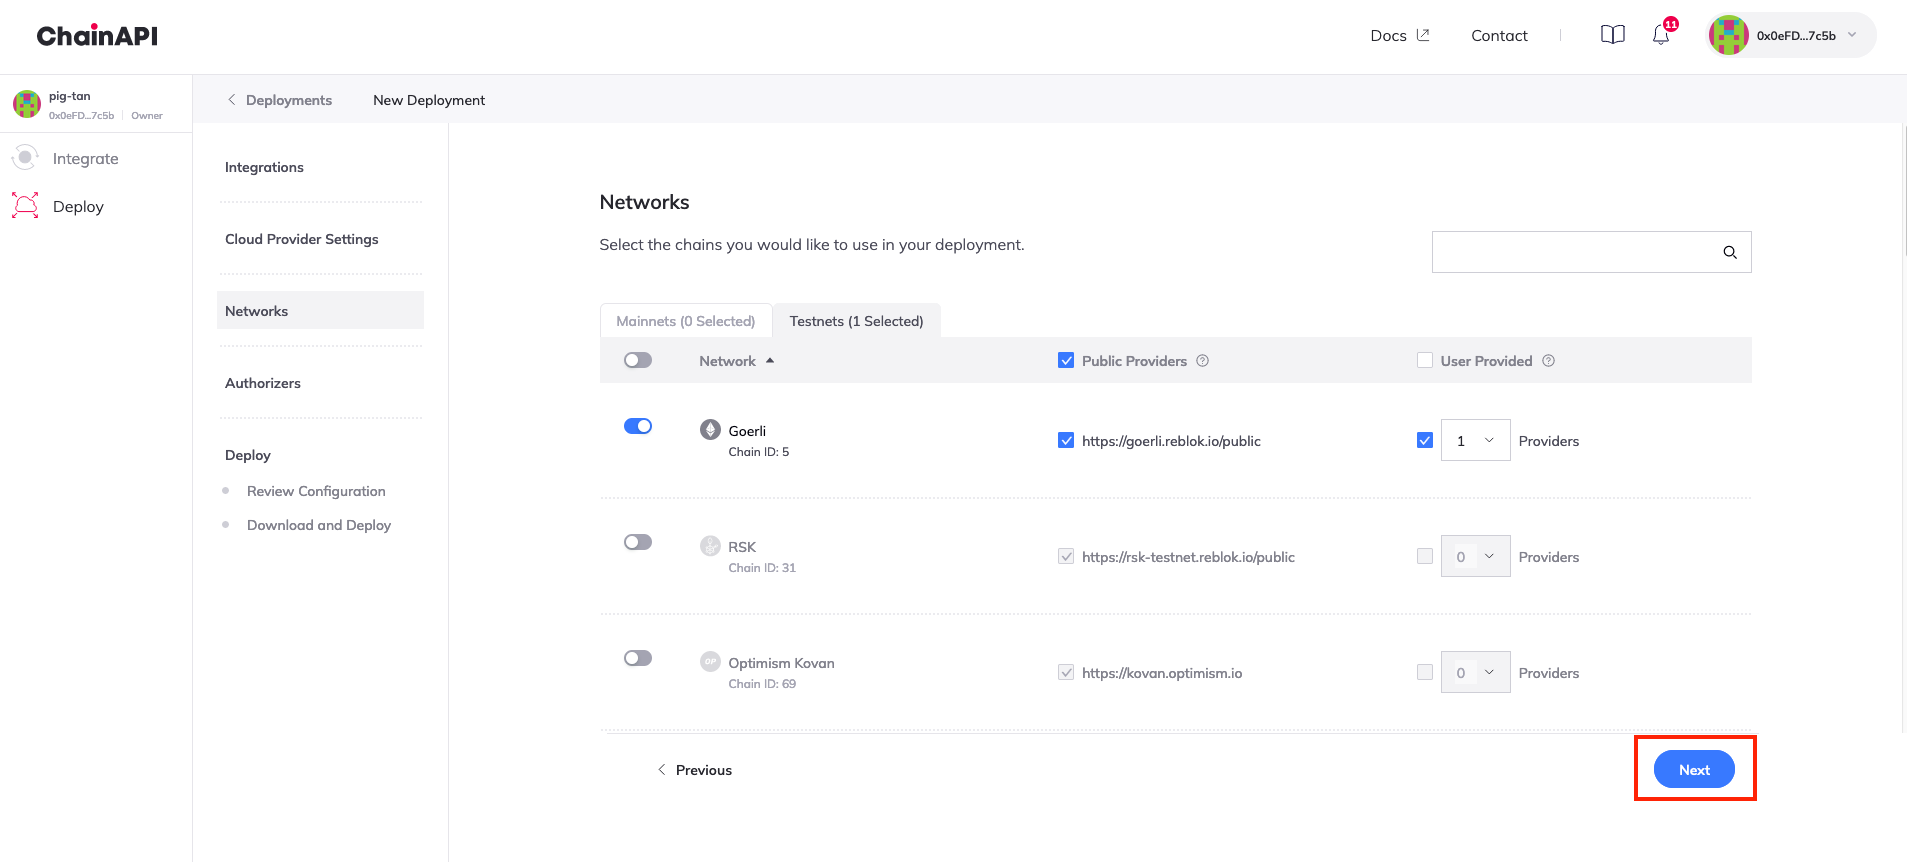
Select the chains you would want to use your Airnode on. You can choose any of the supported chains (Mainnets/Testnets) with up to 10 custom providers for each chain. Click on Next after selecting the chains and the number of providers.
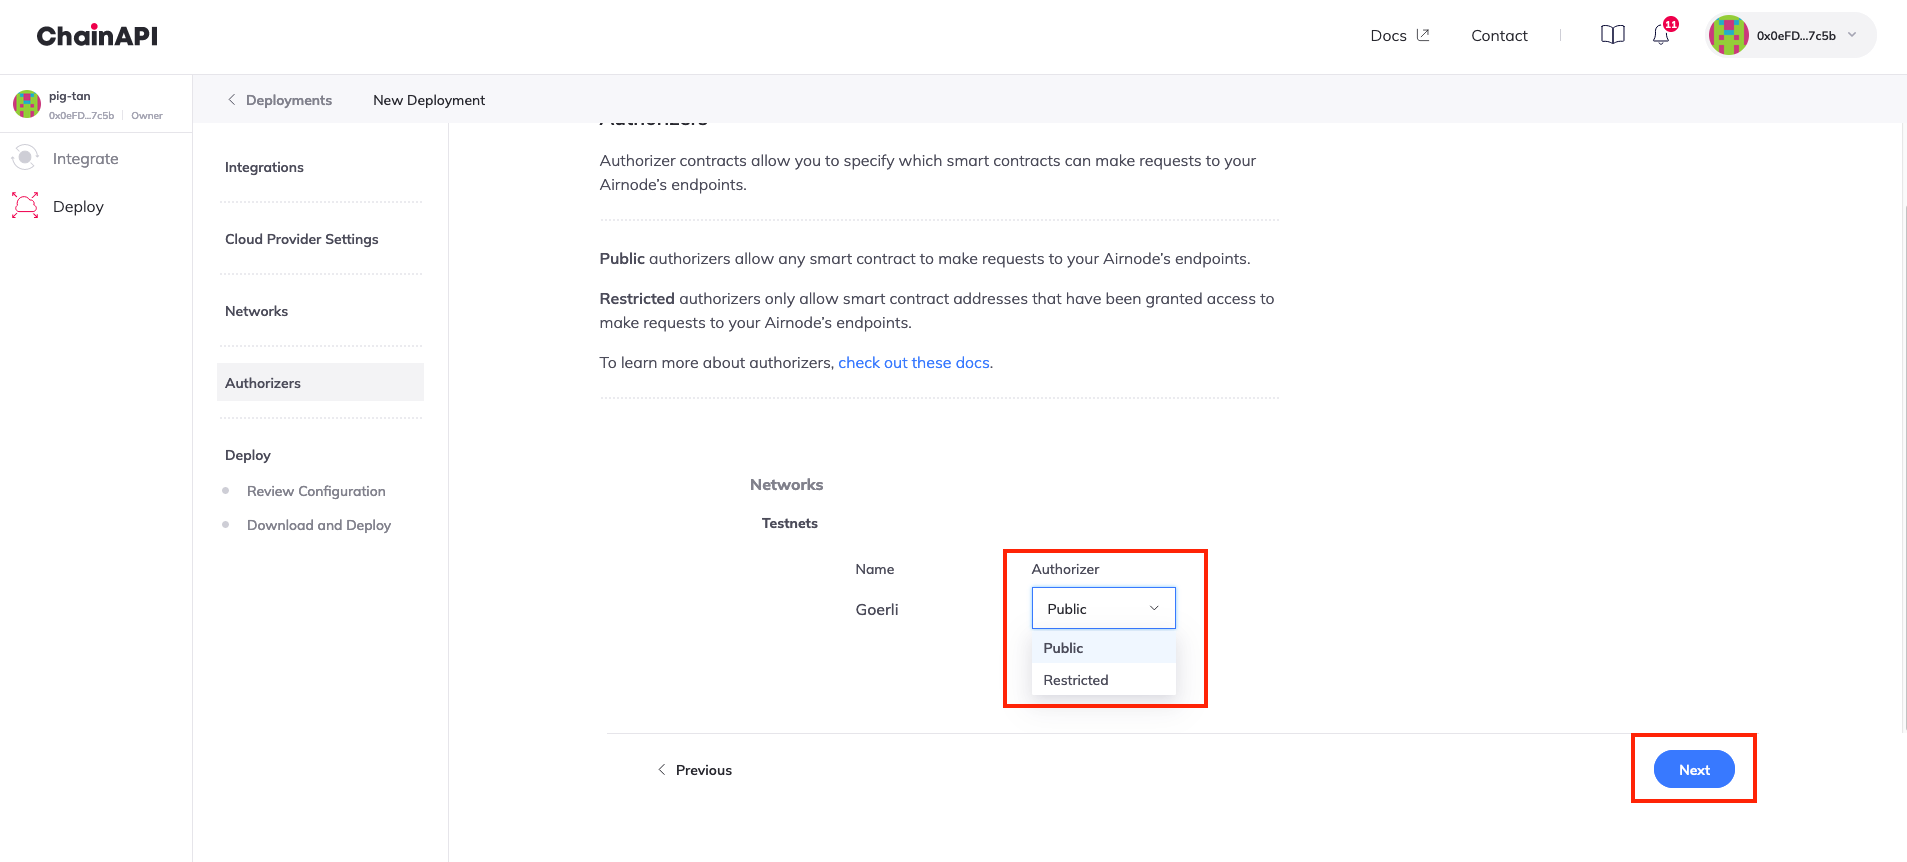
Authorizer contracts allow you to specify which smart contracts can make requests to your Airnode’s endpoints.
When an Airnode receives a request, it can use on-chain authorizer contracts to verify if a response is warranted. This allows the Airnode to implement a wide variety of policies and to authorize requester contract access to its underlying API.
- Public Authorizers will allow any smart contract to make requests to your Airnode.
- Restricted Authorizers will only allow smart contract addresses that have been granted access to make requests to your Airnode.
To read more about authorizers, click here.
For basic deployments, you can keep the authorizer as Public. Click on Next.
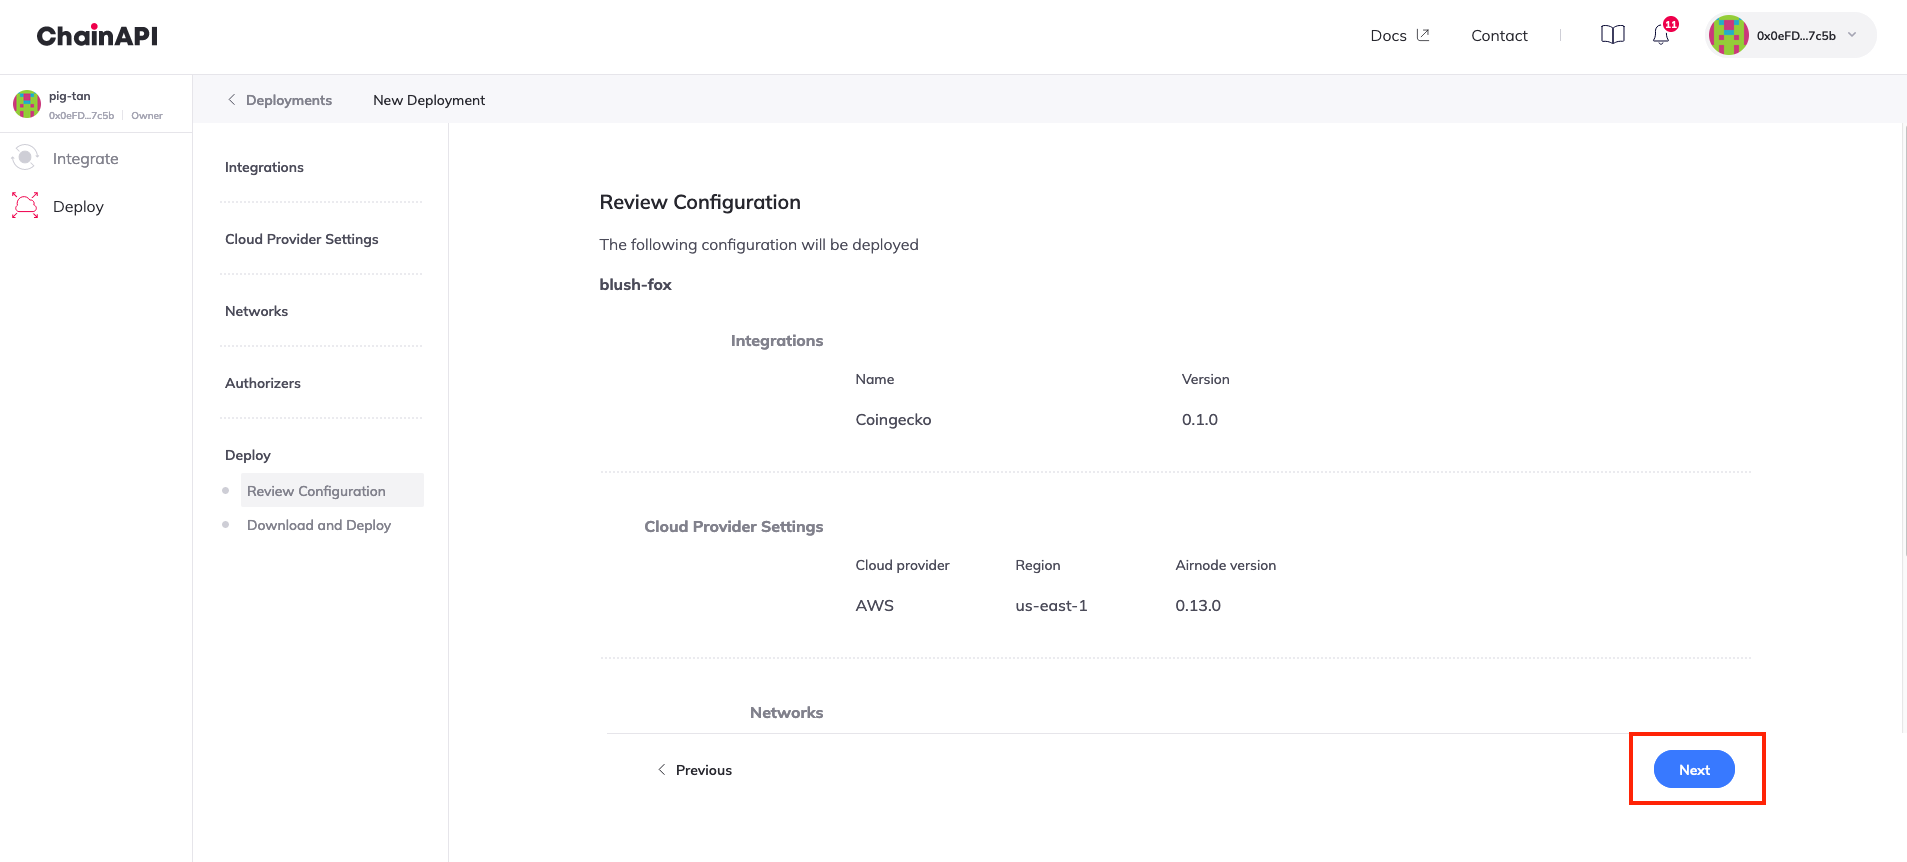
Review your configuration for the final time and click on Next.
You will now be redirected to download the configuration files for your Airnode. Click on Download Files to download the configuration file.
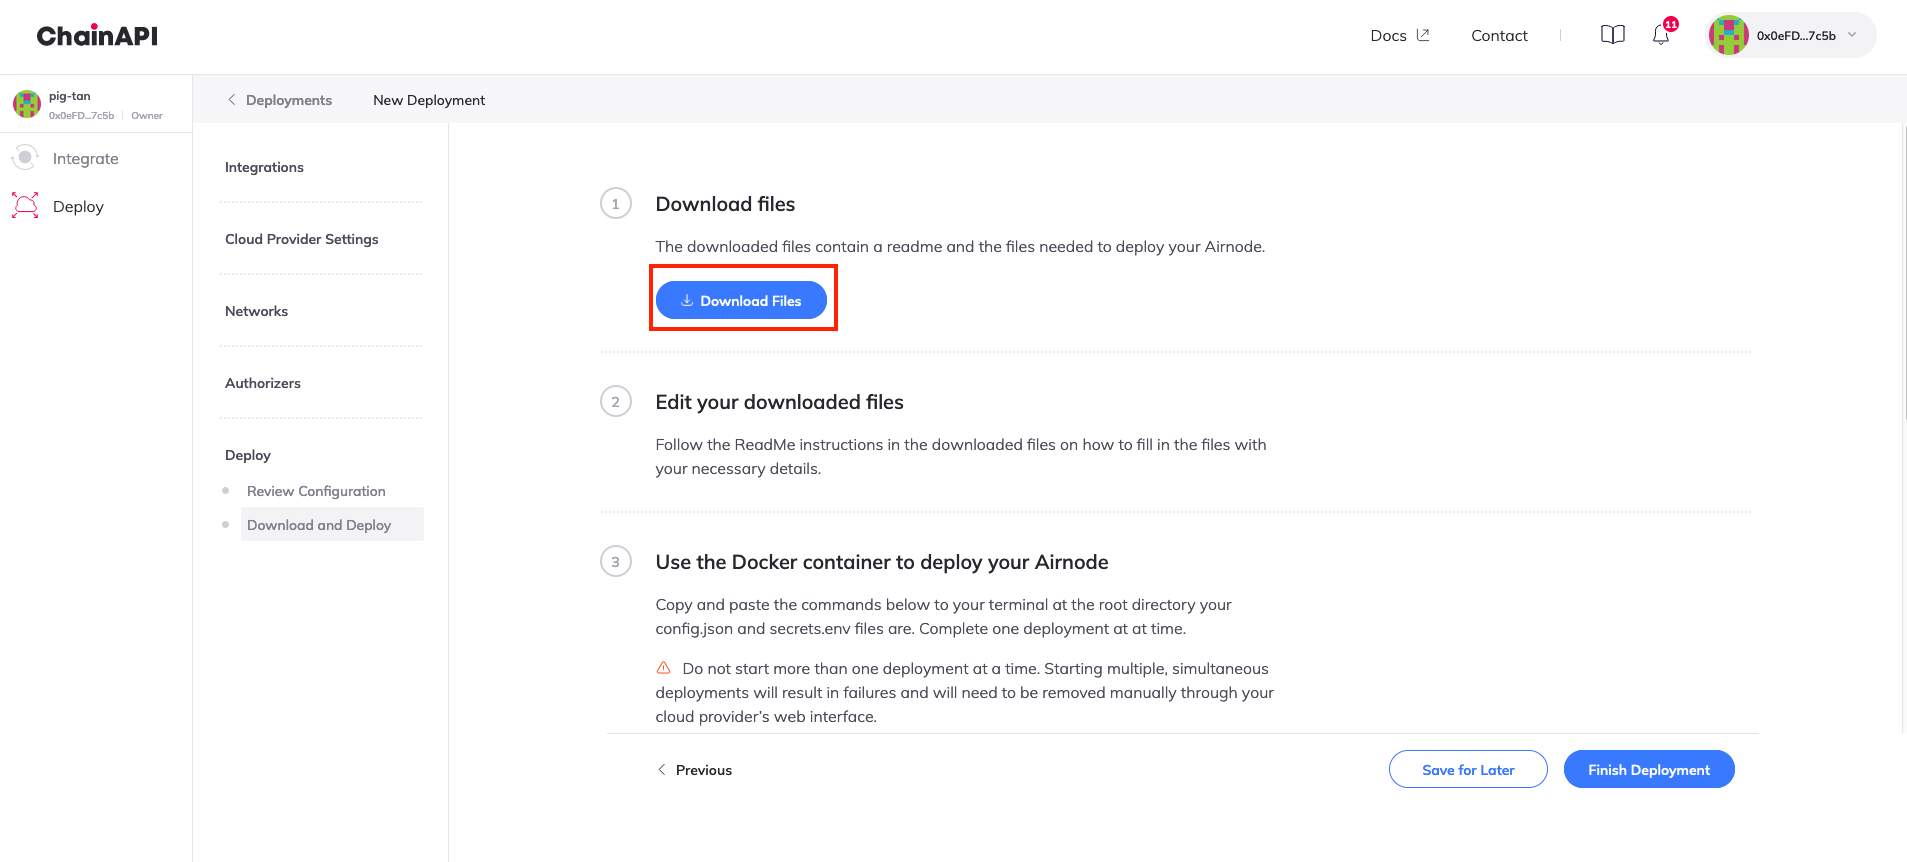
You can now deploy your Airnode using the configuration file. You can either refer to the steps on-screen or follow the deployment guide here.
Once you are done deploying your Airnode, you can click on Finish Deployment to view your deployment status.


